
It’s important that FlowPlumb gutters are installed correctly for them to perform as intended. A correctly installed gutter will be no problem for you for years to come, but get it wrong and it’ll cause leaks and maintenance jobs to correct it.
Luckily, FlowPlumb gutter systems have features built into them to make installation easy and accurate. We’ve also produced a simple step by step installation guide and video to make sure you know all the tricks of the trade.
Key things to get right:
- First of all the gutter needs to slope downwards gently towards the downpipe outlet. This is called the “fall” and only needs to be a couple of millimetres to be effective. The fall should be so gently that to the eye, the gutter looks straight.
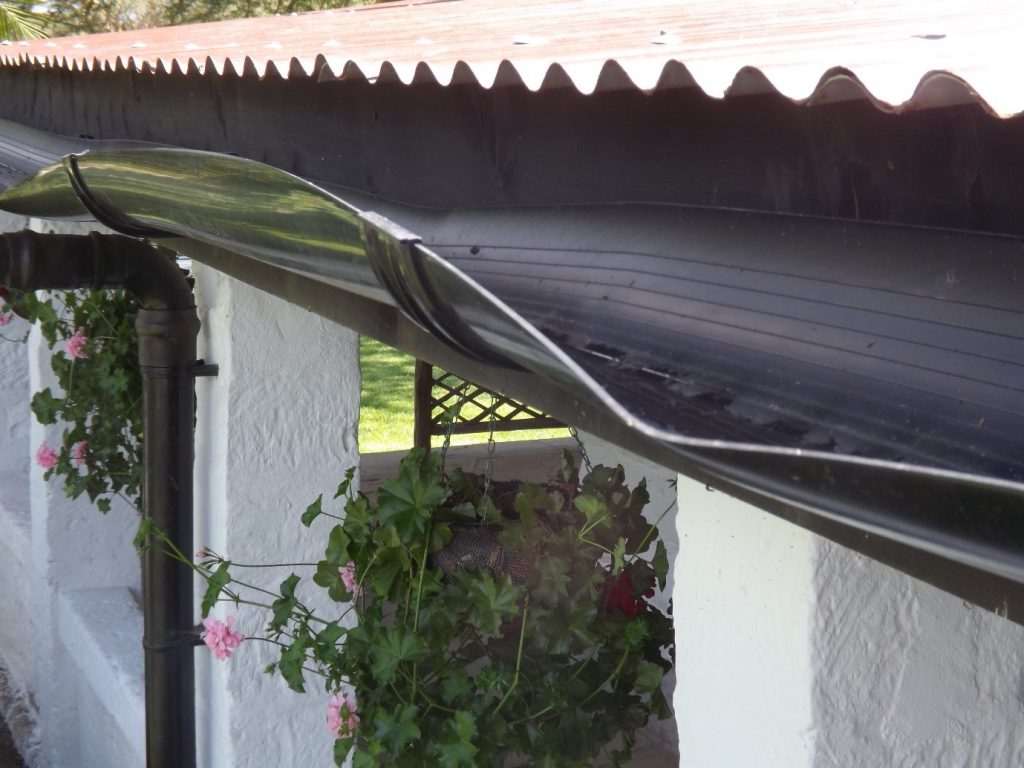
- When clipping the gutter into a joint bracket or outlet, it’s essential that you leave an “expansion gap”. FlowPlumb joint brackets, angles and outlets all have markings showing where to fit the gutter to to make this easy. The expansion gap allows the gutter to slide into the space and back again as the sun heats it up during the day. Without this gap to expand into the gutter would buckle like this:
- Gutter brackets should be spaced at 80cm – 100cm intervals
- Downpipe brackets should be placed beneath the downpipe bends at the top of the downpipe.
- Test the system after installation by blocking the outlet and filling the gutter with water from a bucket. This will identify any areas of the installation that need to be corrected.
Otherwise, installing FlowPlumb guttering is couldn’t be easier!
However, you may also give some thought about where the water will go when it reaches the bottom of the downpipe. Ideally, this should be into a collection tank or into your underground drainage system
To view FlowPlumbs range of rainwater gutter, please visit out webpage where you’ll also find information on flowrates and colour options.


